Wednesday, April 21, 2010

A well rounded (chewy, chocolatey) cookie


No, really. Want round cookies? Airbake 'em! Airbake pans are designed with a pocket of air sandwiched in between the aluminum sheets which allow for even baking...and you get a round cookie pretty much everytime.

I've made cookies oodles of times, and I definitely rebel against the rules of baking. Yes, yes I know baking is a precise science...but I get bored easily, and wonder "what would happen if..." I try to keep my cookies flatter and on the chewy side, and throw a fit if they dont flatten, 'cause I added too much flour or something.

Anyway, so my blog wouldn't be complete without my 'gee i have 3 hours to kill before work i think i'll bake' cookie recipe. So here we go.

::gathering my raw materials::

The basic chocolate chunk cookie

1 stick of butter, softened
1/2 cup brown sugar
1/2 cup granulated sugar
1 egg
1/2 tsp vanilla extract
1 tsp baking powder
1 tsp baking soda
1 1/2 cups flour
1 tsp salt
4-6 oz chopped dark chocolate
(for this batch, I added some orange zest and 1/4 cup orange juice)

Directions

Preheat your oven to 350 F (sensitive ovens, I'd say 325 F) In a mixing bowl, cream both sugars and butter with an electric mixer.


Add your egg and vanilla extract.


(I also added my orange zest and juice here). So sue me, I like my cookies to have a little zing.

Add your baking soda, baking powder, salt, and flour to the wet ingredients and mix until everything comes together as a dough.


Mix in your chocolate chunks, nuts, raisins, or whatever else you like for texture.

Your batter should be "roll-able" at this point--not super duper sticky, but not too dry. As best as you can, roll your dough into "balls" (they don't have to be perfect at all--it's more just to keep the dough together), and plop them on your cookie sheet. Depending on my mood, I'll either make jumbo cookies or small ones. They should yield about 18-22 medium sized cookies. Just keep in mind to space them out far enough on your cookie sheet where they'll have room to spread out. Use two sheets if you need to.


Pop them in your oven for about 15 minutes @ 350 F (or again, if you have an uber sensitive oven that scorches at that temp, drop it to about 325 F). I use a timer, because 15 minutes goes by pretty fast when you're doing other stuff. Remove when they've turned brown and flattened nicely.


Let them cool and remove from the baking sheets. This batch came out flat and chewy, which is just the way I like them. So go buy an airbake pan set, and have fun making round cookies. = ) You can find them at Target, Big Lots, Walmart, or any other store that supplies baking equipment. Have fun!

Tuesday, April 20, 2010

Farfalle (aka bowtie pasta)


So I give myself an A for taste, and a C+ for presentation...hahaha. I made this pasta, just 'cause I really wanted to make it. I opted for a vegetarian topping to compliment it, 'cause I figure I should eat more veggies--this is never a bad thing. You can make a nice pasta salad, or a hot dish--it's a great pasta for eating either hot or cold. The pasta itself isn't heavy, so you don't feel like a pig for eating a ton.

I decided to go vegetarian this time around, and made a tri-pepper sauce with feta and broccoli. I wanted there to be a lot of texture (to make up for the lack of meat; otherwise, my teeth would get bored).

::gathering my raw materials::

The Ingredients:

2 cups farfalle (from the package, or homemade)
1 1/2 cups raw broccoli florets
1 1/2 cups chopped peppers (red, green, yellow, orange)
1 diced tomato
1/4 cup chopped onion and garlic
4 oz crumbled or chopped feta (or whatever cheese you like--i just felt like having some thing sharp to give the sauce a nudge in the right direction)
1/4 cup pasta sauce cut with a little bit of water
salt and pepper to taste


For sauce: I was afraid that the broccoli wouldn't cook well enough with the peppers, so i boiled it first. Unfortunately, I think this was one mistake I made, as they came out looking limp in the final sauce. Anyway, set those aside and sauteed all my diced veggies with about a tablespoon of olive oil.


I added my cooked broccoli, pasta sauce, feta, and seasonings.


Everything simmered and came together...;:sigh:: of course, the feta disintegrated, so although it smelled wonderful, it was not visually pleasing to the eye!


For the pasta:
The pasta recipe itself is pretty simple (and once again, must thank Tyler Florence, as I use his pasta recipe every time). Of course, it helps to have a pasta press, so I strongly recommend you get one if you like to make your own pasta. The plus side of homemade pasta is that it cooks super quickly--like 6-8 minutes, versus 10-15 (depending on the thickness, etc).

Farfalle is made by rolling out long sheets of pasta, using a pastry wheel to make your "fluted" edges, cutting the strips into squares, and pinching the center. That's it. I made it yesterday, so the pasta had a chance to dry, and the "pinched" centers would stay together in the boiling process.

In a medium pan, boil water with a bit of cooking oil and salt. Once bubbling, add your farfalle and cook for 6-8 minutes, or until tender. (longer time, if from the package)


Once done, strain and rinse. Top with the sauce and enjoy!


Haha, again although not visually pleasing to the eye, it was packed with flavor from the feta cheese and the peppers. Again, you can enjoy this pasta cold or hot. I would definitely like to try it again as a cold pasta salad dish.

Monday, April 19, 2010

Zesty Chicken Tortilla Soup


Yum! I don't venture too far into the realm of soups, but I have to admit, this one came out very tasty, and was surprisingly easy to make. I've yet to adapt a Tyler Florence recipe that came out bad--and this was no exception. I was very happy with the results.

NOTE: I was totally bummed shortly after I made this dish--I accidentally erased ALL the pictures I took in the "process." I really wanted to post the recipe though, so I went back and took some pictures of the main ingredients used...but not as many visuals as I would have liked ::sigh:: anywho...onward...

::gathering my raw materials::

This recipe was adapted from Tyler Florence's original--I definitely "halved" it, since it's just 'lil ol me eating. So here we go...

1 tablespoon extra-virgin olive oil
1/2 large onion, diced
1 garlic clove, minced
1 jalapeno, seeded and minced (or more, if you can handle the heat)
2 ripe medium tomatoes, chopped
1 14 oz can chicken stock (or broth)
Salt and freshly ground black pepper
Canola oil, for pan-frying
1 small can whole kernel corn
2 corn tortillas, cut into thin strips
4-6 oz shredded or chopped cooked chicken
1 cup shredded cheese of your choice
1/2 cup coarsely chopped fresh cilantro leaves, for garnish


Directions:

Place a large saucepan over medium heat and coat with 1 tablespoon of olive oil. Add the onions, garlic, jalapeno, and tomatoes; cook, stirring for 15 minutes until the vegetables are cooked down and pulpy. Pour in the stock, (drained) can of small corn, cooked chicken, season with salt and pepper, and simmer for 20 minutes. I also threw in a dash of chili powder, 'cause I played it safe with the jalapeno.

Meanwhile, heat 1-inch of canola oil in a skillet over medium-high flame. When the oil begins to smoke, add the tortilla strips in batches and fry until they are crisp on all sides. Remove to a paper towel-lined platter and sprinkle with salt while they are still hot.


Ladle the hot soup into a couple of bowls. Top with the fried tortilla strips (and cheese if using). Garnish with cilantro and enjoy!

Saturday, April 17, 2010

penne pasta with chicken and pesto


Another great simple dish that can be done within 20 minutes or so. It's one of those dishes that doesn't really exhaust you, even after a long work day.

i kinda get bored eating pasta with marinara and alfredo sauce, so i decided to go green. if you're not big on basil, i wouldn't recommend trying this out. Otherwise, it's definitely a nice, refreshing alternative to the bored palate.


::gathering my raw materials::

you can find pesto ingredients at any grocery store--i opted for Henry's, as they have slightly lower prices, and everything I needed for this recipe. DISCLAIMER: I modified the measurements, as I cooked only a small amount. This is definitely a recipe that you can make "to taste", so have at it. However, for the sake of this blog, I will provide specifics. This reciple yielded about 2 servings.

The Recipe

4-8 oz fresh basil

1 clove garlic, peeled

1/4 cup chopped walnuts*

1/4 cup olive oil

1/4 cup parmesan grated (or more, depending on how much cheese you like

Salt and pepper to taste

6 oz chicken breast, chopped into bite-sized pieces

1 1/2 cup cooked penne pasta

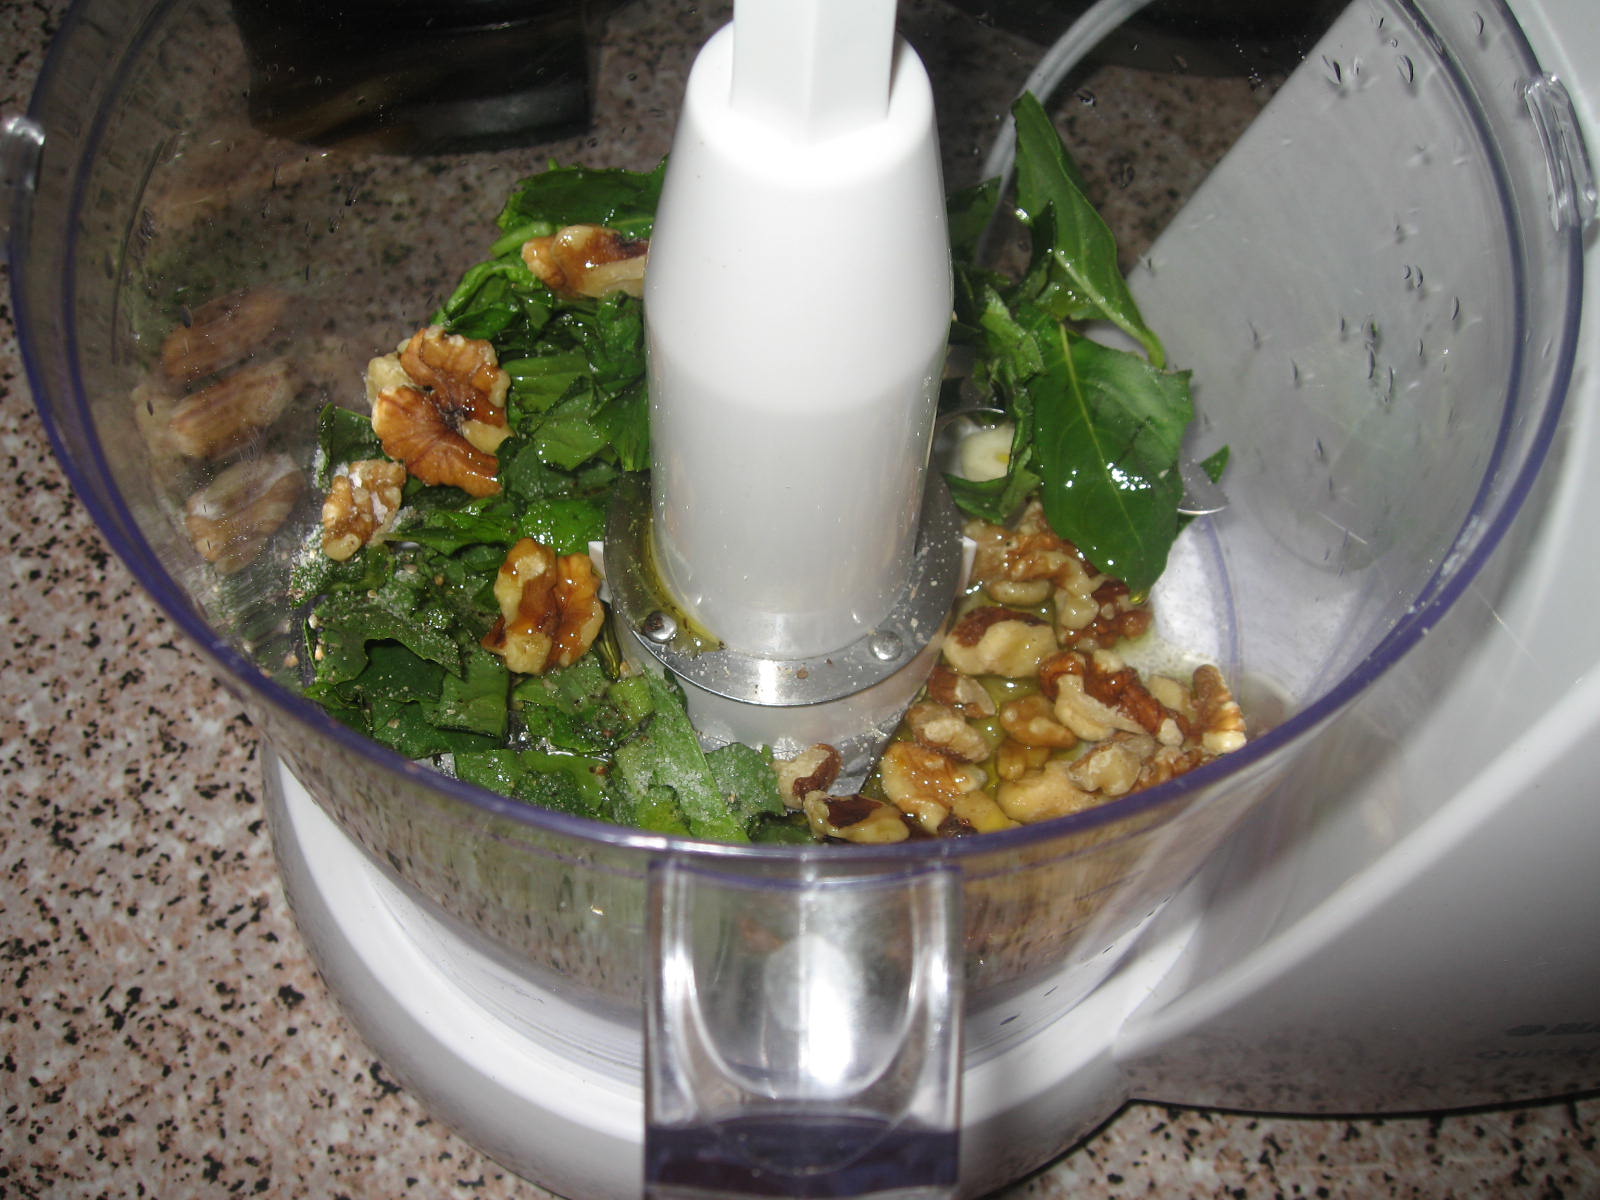
Place the basil, garlic, walnuts, and olive oil into a food processor. Pulse until everything comes together as a paste.


Add your shredded parmesan and pulse into the mixture. You want to do add the cheese at the end, so the heat from the pulsing/blades doesn't melt the cheese and change the consistency of your pesto while it's coming together. Thanks to Giada for that tidbit. = )


Once combined, scrape the pesto out of the food processor and put in a small container. You can add your salt and pepper to taste, once all finished. Place aside for now.

Now head on over to the stove. In a medium saucepan, allow about a cup and a half of penne pasta to boil. While the pasta boils, chop up 6-8 oz of fresh or frozen chicken breasts into bite sized pieces. Cook in a medium frying pan until completely done. I sauteed mine with a little olive oil and minced garlic for flavor.


Once the pasta is done, rinse and add to your cooked chicken. Add your pesto to the chicken and pasta, then allow to simmer for a bit on a low heat. The cheese will melt nicely, and your pesto will coat the meat and pasta very nicely. Remove from heat. Serve and garnish with more shredded parmesan, if desired.


And that's pretty much it. Although I'm a sucker for alfredo sauce, pesto is a nice way to change things up.

*You can substitute pine nuts for the walnuts, as that's the more traditional recipe. However, if you're on a budget (pine nuts can be pricey), walnuts are fine.

Thursday, April 15, 2010

Chocolate Chip Orange Cupcakes


So I've returned to my comfy little baking niche. After plundering my mom's texas muffin tins (and baking cups), I had been itching to make something with them. It's been a really long time since I've made anything "cakey" from scratch, so I thought it would be fun to do something citrusy with chocolate. I am a fan of both, and they typically work well together. The end result? I was happy. Fresh orange zest goes a long way.

More often than not, the actual CAKE part of cupcakes fall short of flavor, and end up being the "vehicles for frosting." I've encountered this at many of the cupcake joints I've tried here in SD. Thankfully, this recipe I found was very flavorful; citrusy, and the chocolate chips prevent the texture from becoming boring.

So I'll break this down into two parts: the cupcake batter and the frosting. I followed the cake batter very closely, but "ish"'d my frosting. I've been making frosting from scratch long enough to know what consistency is "right" for piping.

::gathering my raw materials::

The cupcake batter
5 tablespoons unsalted butter, softened
1/2 cup sugar
1 large egg (I didn't have large eggs, so I used 2 mediums)
Finely grated zest of 1 navel orange
1/2 teaspoon vanilla
1 cup all-purpose flour
1 1/2 teaspoons baking powder
1/8 teaspoon salt
1/2 cup whole milk
1 1/4 cups semisweet mini chocolate chips (7 1/2 oz)

The Muffin tin: I used a jumbo sized texas muffin tin which makes 6 cupcakes...the original recipe was for a regular sized 12-muffin tin.

Directions:

Preheat oven to 350°F.

Beat together butter and sugar in a large bowl with an electric mixer until light and fluffy, then beat in egg, zest, and vanilla.


Sift together flour, baking powder, and salt and mix into butter mixture at low speed, alternating with milk, beginning and ending with flour mixture.


Fold in 1/2 cup chips and divide batter among lined muffin cups.


Bake in middle of oven until pale golden and a tester comes out clean, 20 to 25 minutes. Turn cupcakes out onto a rack to cool completely.


The Frosting

I really hate to put measurements to this...::sigh:: but for the sake of getting it down on paper (fine, a blog)...DISCLAIMER: measurements are FAR from exact.

8 oz dark chocolate broken up into small pieces (or chocolate chips)
1 cup vegetable shortening

10-16 oz confectioner's sugar (aka powdered sugar)

4 oz cream cheese

orange zest

In a double boiler (or your handy metal mixing bowl sitting on top of a pot with about 2 inches of boiling water) melt your chocolate.


Try not to let your boiling water touch the bottom of the bowl--you just want it hot enough to get the chocolate melted/smooth. Remove from heat and let cool.


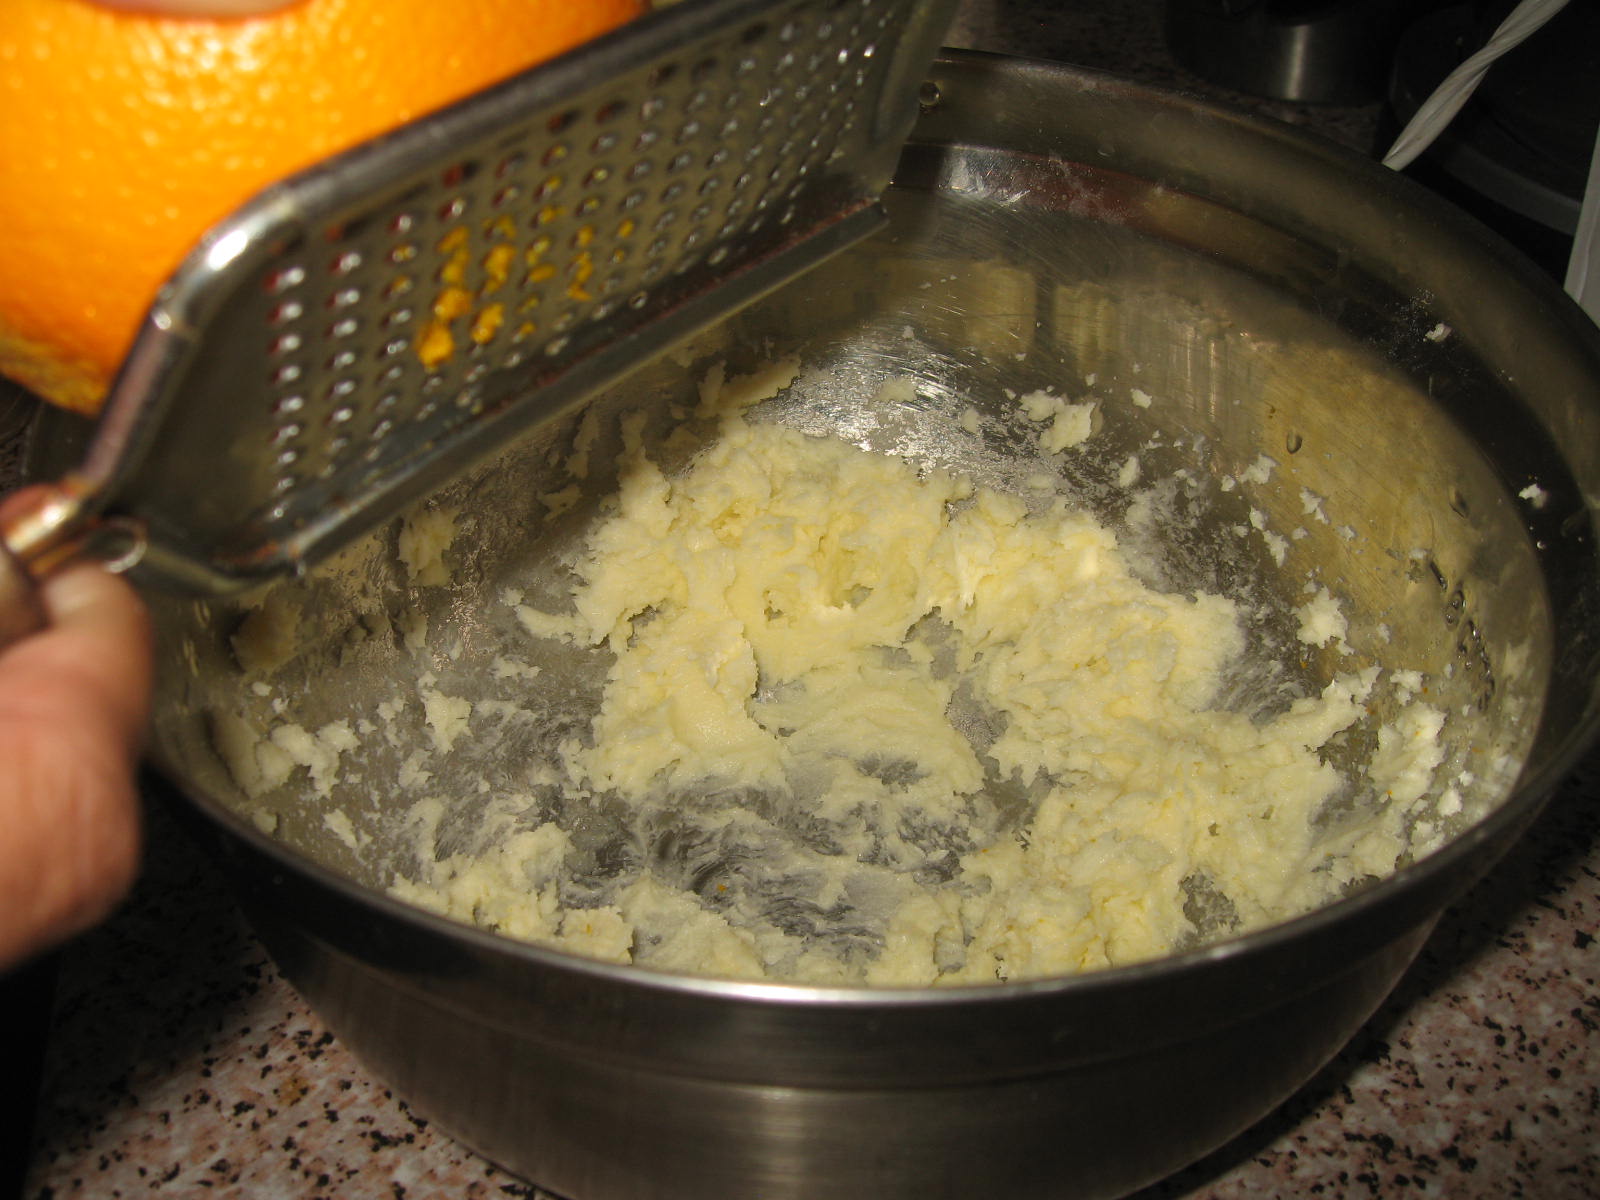
Beat in your sugar first, then add the shortening. I added a little cream cheese for an exta kick. Finally, zest your orange right into the mixture, and stir together. Keep stirring until the consistency of your frosting is stiff enough, and not too runny. This is important for piping.


It's important to have a large piping tip for piping cupcakes. You can find a set of large ones at Smart n Final or any baking/cooking supply store. The bigger the tip, the easier it is to frost the cupcakes without having to worry about air bubbles in the bag ruining your piping work. Keep in mind to have plenty of icing though, as a lot of it stays within the large tip.

Fill a pastry bag with your frosting and pipe out onto your cupcake as desired. To keep a consistent pattern, start with a ring at the outer edge of the cupcake and then do a seond, inner ring until you finish your "spiral."


Once done, I garnished with more orange zest...just for color. However, you can get creative with dragees, piped flowers, etc.


And there you have it...chocolate chip orange cupcakes. = )

Tuesday, April 13, 2010

wicked easy strawberry shortcake cookies


i had a big handful of strawberries leftover from ralphs' super 98 cent/lb box sale last week. They were still good, nice and firm...but I was tired of just eating them with my yogurt.

i didn't have the ingredients to make a cheesecake, so I kept it simple. I found a recipe online for strawberry shortcake cookies--but ultimately, they ended up being little mini scone type cookies. They weren't super sweet, but had a nice crisp texture, packed with fresh strawberries, and a hint of orange. So anyway....here we go.


::gathering my raw materials::

- 6 oz chopped strawberries

- 1 tbsp granulated sugar

- 1/2 tsp lemon juice

Toss the strawberries with the lemon juice and granulated sugar. Set aside in a bowl.


Continuing on:
- 1/4 cup sugar

- 1 cup flour

- 1/2 cup butter (cubed, chilled)

- 1 tsp baking powder

- 1/4 tsp salt (if you're using unsalted butter)

- 1/3 cup heavy cream (but i used half n half, worked just as well)

- crystal sugar for garnish (can substitute with sugar in the raw)


Combine flour, sugar, salt, and baking powder. Using a pastry cutter (or two forks, for us newbies, who haven't accumulated all the nifty gadgets yet), cut in the butter until your flour looks like cornmeal.


Once that's nice and incorporated, add your heavy cream (or half n half) and strawberry mixture.


I took this opportunity to add some fresh orange zest, 'cause strawberries pair very nicely with citrus.


Don't be alarmed if the batter turns kinda pink, 'cause of the strawberries


Spoon the batter onto a cookie sheet.

This is an optional step, but it gives the tops of the cookies a nice crunch. Sprinkle your sugar crystals on top of the cookies. Again, I used raw sugar which was a decent substitution. Sprinkle as much or as little as you would like.


Pop your cookies into the oven @ 350 F, for about 20 minutes or until they start to turn lightly brown. If your oven is on the more sensitive side, bake at about 325F and check on them after 15-18 minutes.


Remove from heat and allow to cool for a bit.


I was happy with the results; they were like little biscuits, and can be enjoyed alone, with tea, or even a bit of butter/margarine. Would probably try again with different fruit. Enjoy!