Sunday, August 29, 2010

panini!


::dusts cobwebs off camera, pans, and counter::

it's a treat to have a sunday off--having two jobs makes it difficult to take the time to update the food blog.

but hey, carpe diem, right? or noctum. whenever kitchen experiments arise.

so for my birthday, my dear sister bought me a cast iron panini grill. well actually, it can grill anything--but it's got those fun lines which invite a hard, crusty bread to be smushed and branded with cool char lines. yes, this excites me. not having a grill, let alone a gas burning stove makes me sad. this is as close as i'll get, so i decided to finally experiment.


::gathering my raw materials::

there's nothing better than prowling the aisles of trader joes, with a yummy SOMETHING in mind, but nothing specific. 20 minutes later, a wedge of asiago, red and orange peppers, 2 small french baguettes, and a tub of gorgonzola made their way into my hand basket.

i decided to keep it simple and vegetarian. my hero panini was asiago with fried peppers and onions on the french baguette. of course you can pretty much cram anything in between two pieces of bread--but this was my first attempt. not much to making a fancified grilled sandwich, but hey...it was sure tasty!


ingredients:

- 1 small baguette
- 2 oz sliced asiago cheese (or whatever cheese you like)
- 2 oz sliced onions
- 2 oz sliced red/green/yellow/orange peppers (or whatever veggies you like)
- 3 tbsp extra virgin olive oil


you can mix and match your cheese--i chose not to, but maybe next time i will.

directions:

cut your baguettes down the center. honestly, i'd recommend experimenting with bread. ciabatta would probably be my next choice if i decide to try this again.


set aside for now, and chop veggies of your choice.

put your panini pan on the burner, lid on top, and let it heat up at a medium to high setting.

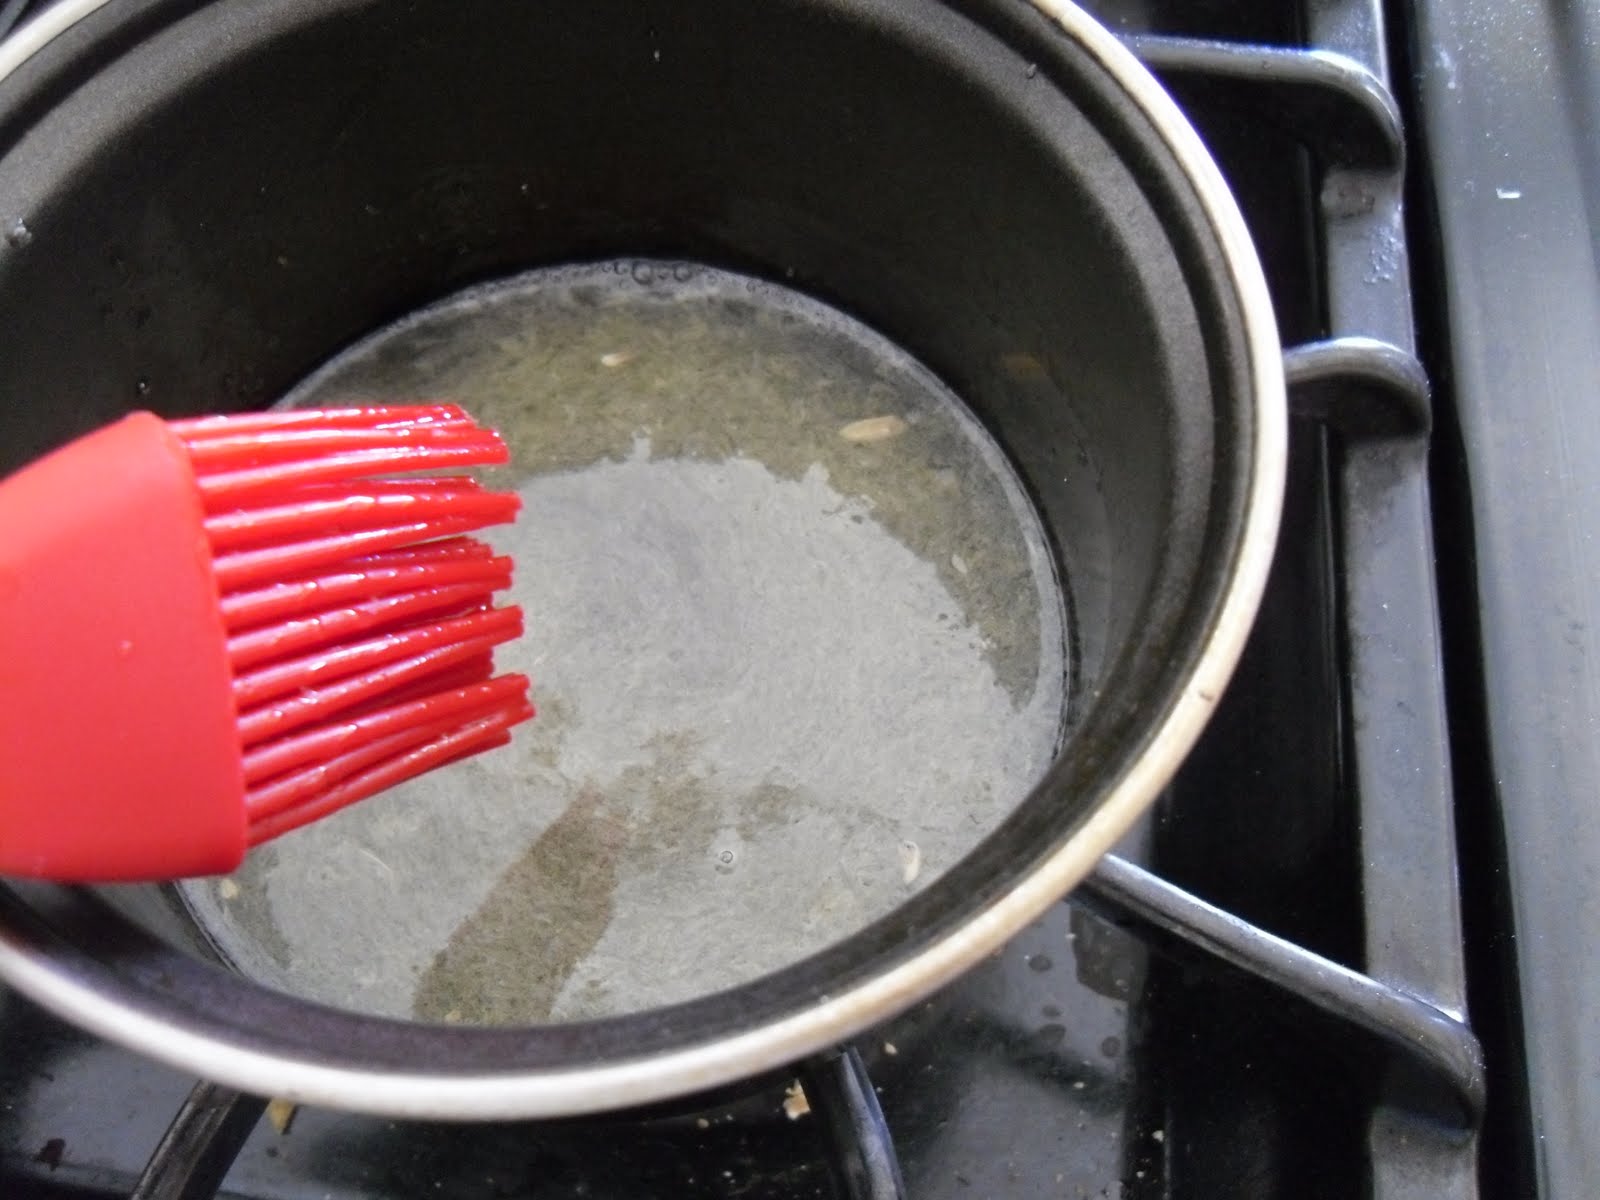
in a separate pan, heat up about 2 tbsps of olive oil on medium heat. Slice your peppers and onions, and fry them up--separately or together. remove from heat, once they've cooked to your liking.


Set aside, and arrange your cheese on the bottom half of the panini.


By now your panini pan should be pretty hot (be REALLY careful, and have an oven mit handy), so go ahead and transfer the bottom piece to the inside of the pan. Layer your cooked veggies on top of the cheese, and cover with the top half of the baguette. Get your lid, and...well...essentially, smush it down.


ultimately, let your nose be your guide. You don't wanna completely char the bottom side. You can take a peek at the bottom corner of the bread with a pair of tongs to see if it's developed the nice stripey burn mark. if so, carefully flip the sandwich, and smush down with the lid for another minute or two. If you prefer just a toasted sandwich without the lines, then flip sooner on each side.

And that's pretty much it. Remove the sandwich from heat. Turn the heat off the pan, and allow to cool on its own before attempting to clean. Otherwise, enjoy! Get creative with cheese, meats, veggies, and dressings.

Tuesday, July 6, 2010

peanut butter cookies. = D


soooo....finally back and settled in my place. seriously, there's nothing like having an oven. and a microwave. and a place to wash dishes. uh, ultimately, there's nothing like having a kitchen, i guess. = )

and how does this little paralegal/barista celebrate being back in her place? does she whip up a culinary masterpiece consisting of complex flavors, seasonings, and spices which make tastebuds dance, sing, and swoon?

nah.

she makes peanut butter cookies. ::shrug:: haha. enough 3rd person gibberish. i was in a cookie mood. leave me alone. =)


peanut butter chocolate chip cookies are fun to make and eat. you can't really go wrong with peanut butter, unless you absolutely hate it. the trick is to not use too much...did that once, and ended up with super greasy, kinda clay-like cookies. A touch of cinnamon and chocolate chips compliment the cookies quite nicely. I would imagine toasted, chopped peanuts would be a great addition...but i'll leave that for you to try on your own time and experimental procedures.

::gathering my raw materials::

Ingredients:

1 stick of unsalted butter, softened

1 cup sugar (I used a 1/4 cup white sugar, 3/4 cup brown sugar mix)

1 large egg

1 cup flour

1 dash of cinnamon

1 tsp baking powder

1 tsp baking soda

dash of salt

1/2 cup creamy (or crunchy!) peanut butter

1/2 cup semi-sweet (or bittersweet) chocolate chips...or chunks. mmm...


Directions:


In a large mixing bowl, beat butter and sugar until fluffy.


Add egg and continue to beat. Sift dry ingredients together (flour, cinnamon, baking soda, baking powder, salt) in a separate bowl. Slowly incorporate flour into wet ingredients and continue to beat @ a low speed.


(hmm...notice the sudden change from plastic white bowl, to metal bowl and slightly different lighting. recycled pictures, ftw!) ahem...

Once fully incorporated, switch to a wooden spoon and add your peanut butter. Mix, then add in the chocolate chips.


Roll into small balls and place on a cookie sheet with at least 1.5 inches in between each ball, for cookie expansion room.


Now this is the fun part with pb cookies. Not exactly sure why this is done (i dare not question tradition), and it's entirely optional, but always a nice finishing touch to do the fork/waffle pattern thing. Grab a fork and press it on the top of your dough ball in a cross-hatch pattern.


Yay! Now pop into the oven @ 350 for 12-15 minutes, longer for crispier cookies. Remove when browned nicely. When cooled, enjoy! (or enjoy slightly warm...whatever you prefer) = )

Wednesday, June 2, 2010

lemon pound cake


So this was done before my apartment got flooded, while i was up @ my sister's house. it's always fun to invade someone else's kitchen and use their gadgets.

i pulled this recipe from america's test kitchen, and it was pretty tasty--definitely worth doing again and again as a simple snack, or a nice little 'with tea/coffee' after dinner dessert for your family and friends. The zest in the cake compliments the tangy syrup that coats the cake. if you like a lemon zing, then you'll love it.


::gathering my raw materials::


Ingredients


16 tablespoons unsalted butter (2 sticks)
1 1/2 cups cake flour (6 ounces), plus 1 tablespoon for dusting pan --i substituted cornstarch and all purpose flour for cake flour--1/4 cup cornstarch to 3/4 cup all purpose yields about 2 cups of cake flour.
1 teaspoon baking powder
1/2 teaspoon table salt
1 1/4 cups granulated sugar
2 tablespoons grated lemon zest plus 2 teaspoons juice from 2 medium lemons
4 large eggs
1 1/2 teaspoons vanilla extract


Lemon Glaze (Optional)
1/2 cup granulated sugar
1/4 cup lemon juice , from 1 or 2 medium lemons
Poppy seeds (totally optional)

Directions:

Adjust oven rack to middle position and heat oven to 350 degrees. Grease 9 by 5-inch loaf pan with 1 tablespoon softened butter; dust with 1 tablespoon cake flour, tapping out excess. In medium bowl, whisk together flour, baking powder, and salt; set aside.


In glass measuring cup or microwave-safe bowl, microwave butter, covered with plastic wrap, at full power until melted, 1 to 2 minutes. (Alternatively, melt butter in small saucepan over medium heat.) Whisk melted butter thoroughly to reincorporate any separated milk solids.

In food processor (or a blender!), process sugar and zest until combined, about five 1-second pulses.


Add lemon juice, eggs, and vanilla; process until combined, about 5 seconds. With machine running, add melted butter through feed tube in steady stream (this should take about 20 seconds).


Transfer mixture to large bowl. Sift flour mixture over eggs in three steps, whisking gently after each addition until just combined. Add poppy seeds, if desired.


Pour batter into prepared pan and bake 15 minutes.


Reduce oven temperature to 325 degrees and continue to bake until deep golden brown and skewer inserted in center comes out clean, about 35 minutes, rotating pan halfway through baking time. Cool in pan for 10 minutes, then turn onto wire rack.


If using lemon glaze, while cake is cooling in pan, bring sugar and lemon juice to boil in small nonreactive saucepan, stirring occasionally to dissolve sugar. Reduce heat to low and simmer until thickened slightly, about 2 minutes.


After turning cake onto wire rack, poke the cake's top and sides with a toothpick and brush on Lemon Glaze


Cool to room temperature, at least 1 hour. Enjoy!

Wednesday, May 26, 2010

a comfort classic...meatloaf...


...with mashed potatos, gravy, and veggies. = )

yesterday, i was (nerdily) stoked when i signed up for membership to America's Test Kitchen (ATK). In general, they provide recipes based on their own trial and error experiments with flavors, textures, you name it. I had a lb of ground beef to use, and didn't really feel like making some sorta meat sauce with pasta--since that's the usual no brainer dinner when I have ground beef.

The thought of meatloaf makes me laugh because it's such a "kid" dish. It's that dish that mom, grandma, or auntie makes for you, but you never really think of making on your own. Especially, since most meatloaves have that ketchup coating! How can you take a dish seriously, when you slather ketchup on top?

So yea. With the assistance of ATK's meatloaf recipe (adapted and modified, of course), my meatloaf came out very moist and flavorful. Along with some veggies and potatos, it was fun to make...basically, a fancified TV dinner. = )


::gathering my raw materials::


Ingredients:

~ The meatloaf ~


1 lb lean ground beef
1 egg
1/2 tsp unflavored gelatin
1/4 cup chicken broth
1 tsp soy sauce
1 tsp dijon mustard
1 tsp dried thyme
1/3 cup tomato juice
1/4 cup crackers, crushed
1 small clove garlic, minced
1/4 cup onions and peppers diced
dash of paprika
2 oz (finely) shredded cheese
dash of salt and pepper
1 tbsp cooking oil


~the glaze~

1/3 cup ketchup
1 tsp hot sauce
1/3 tsp ground coriander
1/4 cup cider vinegar (i used white, i don't think it matters much)


~mashed potatos~

3 medium potatos (i used small red potatos for 2 servings)
1 cup milk
1/4 cup unsalted butter
salt, pepper, and other seasonings of your choice, to taste
1/2 tsp minced garlic

~gravy~

1/2 cup browned flour
1 cup water (or more, depending on thickness)
1 tsp beef or chicken bouillon (to taste)
any other seasonings of your choice.


Directions

~ Meatloaf~

Heat oil in small skillet over medium-high heat. add onions, peppers, and garlic, stirring occasionally, until beginning to brown, 6 to 8 minutes. Reduce heat to low and add tomato juice and dried thyme. Cook, stirring to scrape up browned bits from pan, until thickened, about 1 minute. Transfer mixture to small bowl and set aside to cool.


Whisk broth and eggs in large bowl until combined. Sprinkle gelatin over liquid and let stand 5 minutes. Stir in soy sauce, mustard, crackers, parsley, salt, pepper, and onion mixture.


Sprinkle shredded cheese over mixture. Add ground beef; mix gently with hands until thoroughly combined, about 1 minute.


Transfer meat to a baking pan. Bake for about 35-40 minutes @ 375F.


While meatloaf cooks, combine ingredients for glaze in small saucepan; bring to simmer over medium heat and cook, stirring, until thick and syrupy, about 5 minutes.


After meatloaf cooks, remove from oven and turn on the broiler. Spread half of glaze evenly over cooked meatloaf with rubber spatula; place under broiler and cook until glaze bubbles and begins to brown at edges, about 5 minutes.


Remove meatloaf from oven and spread evenly with remaining glaze; place back under broiler and cook until glaze is again bubbling and beginning to brown, about 5 minutes more. Let meatloaf cool about 20 minutes before slicing.

~the potatos~

So while you're twiddling your thumbs waiting for the meat to cook, make some side dishes = )

Gawd, this is a no brainer, really...i've been making mashed potatos since i was little, so i assure you, it's just a process of mashing and tasting. Grab your potatos and cut them into thirds, halves, fourths, whatever you would like.


Now, some people prefer to boil, but I like to nuke mine in the microwave. Throw them in a grocery bag, and cook for 8-10 minutes, for a small to medium batch. The great thing about red potatos? You don't have to peel, haha. Otherwise, peel your brown potatos, and then nuke 'em.
Remove from heat and put in a medium bowl. Add your butter, salt, pepper, garlic, and milk. If your butter is cold, throw that in first. Now just mash away with a potato masher.


I added dried rosemary and lots of garlic and pepper--but i highly encourage you get creative, and let your taste buds be your guide.


~the gravy~

Gravy can be easy or hard--depending on a lot of factors. For instance, I had a momentary brain fart and forgot to remove my flour from heat before adding liquid. Yipes. Anyway...

Put your flour in a small/medium pan and on medium heat, brown it. DON'T DO WHAT I DID: PLEASE, PLEASE, PLEASE TURN DOWN THE HEAT, OR REMOVE PAN FROM HEAT!


Otherwise, once you add your water, you will end up with a bubbly mess--and lots of lumps. = ( Not sure what I was thinking, but of course, I had the epiphany in the first round of water. ::sigh:: luckily, once the heat subsided, I was able to finish. Added the bouillon and a dash of garlic powder. Stirred, stirred, stirred. Tempted to bust out with the immersion blender, but it was fine--just for me, anyway.


Lastly, veggies. Yes, important to eat the veggies. I keep frozen veggies stashed for easy access/meals. Or for those who keep up with fresh produce, chop, peel, cook. Throw a cup of mixed veggies in the microwave (or in a saucepan to boil) and cook. Remove from heat.

Serve up your meatloaf with potatos, gravy, and veggies. There you go. You have now transitioned into adulthood by making this dish. Enjoy = )